Showing posts with label What I Made. Show all posts

Thursday, July 14, 2011

This birdie has a new lease on life!

A couple of summers ago my mom got me pretty ceramic mushrooms, the biggest with a little birdie sitting on top. Well after a few year in the ground, the largest garden ornament lost it's stake and the bottom of the mushrooms broke too. I kept them because I thought they were pretty and didn't want to get rid of them, but I didn't exactly know what to do with them either. Well, Hubby found a cool piece of wood in our backyard, and an idea was born!

I had Hubby drill some large holes in the cool looking log, and I dripped some epoxy in the drilled holes and around the base of the mushrooms, and ta-DA!! I'm really liking the way it all turned out and that these gifts got a new life on my garden table.


Sunday, July 10, 2011

Fence Flower

So back in the spring my husband picked me up a magazine called "Flea Market Gardens" which I loved. I wish I could link to it, but I can't seem to find a website to go along with it; but if you too came across it you may have seen the article "Glass Act". In the article they made "flowers" by stacking plates, which I thought looked really cool, so I set out to find plates. I instead found a metal placemat, a white plate with gold trim, and bundt pan at Goodwill and said perfect! While at home I also found a rusty little bell that fell off some wind chimes. One by one I glued them together using epoxy, and made a tiny twine hanger.  


A screw was sunk into our fence post, along with a dark green metal stake that we used to use for Christmas decorations but have since abandoned for a better solution. I think the finished product looks really cute, and just makes me want to make more flowers for my fence!

And an extra pic of the side yard with coneflowers, queen ann's lace and metal javelina I bought with my little brother in Arizona. These coneflowers are looking much healthier than they have in years past!

Saturday, July 9, 2011

Backyard Wooden Windchimes

Easy as drill, knot, hang!

I found the wooden kitchen utensils and metal colander at a thrifts stores all for about $2. I used twine from home and knotted through the utensil holes that I drilled and then knotted the other end of the twine through the colander. Of course fishing line, or any host of products could be used instead, but I liked the more rustic look of the twine. I drilled a hole and the top and bottom of one of the spoons to attach an additional spoon for the middle "chime".

I made the hanger for the wind chime in a similar fashion, tying knots to the holes in the bottom (now top) of the colander, and viola!

When the wooden/bamboo utensils hit together it gives a really nice earthty mellow thud--very zen.

My one tip is to the leave the string long enough so that all the utensils can clang together easily. Mine are long enough, but if I were to do it again, I might make them a tad longer.

Here are a few more pictures...


Sunday, May 15, 2011

Graduation Party Time!

Hubby graduated last weekend from Northeastern Illinois University with his masters in Mathematics. Yeah!!!!!

This weekend we had a graduation party for him. When he turned 30 last fall, I asked him if he'd want to have a birthday party or get together; he said no, but that by the end of his degree he would definitely want a graduation party. I've kept that in mind.

While looking up info and ideas on graduation parties, I had searched and searched. What I finally came up with was kind of a Math/School/Graduation theme, and used the tagline: "It's All Good in the Hood". 
We used it on the invitations, and the Math quizzes we made for the tables, and on the welcome sign when people came in. 

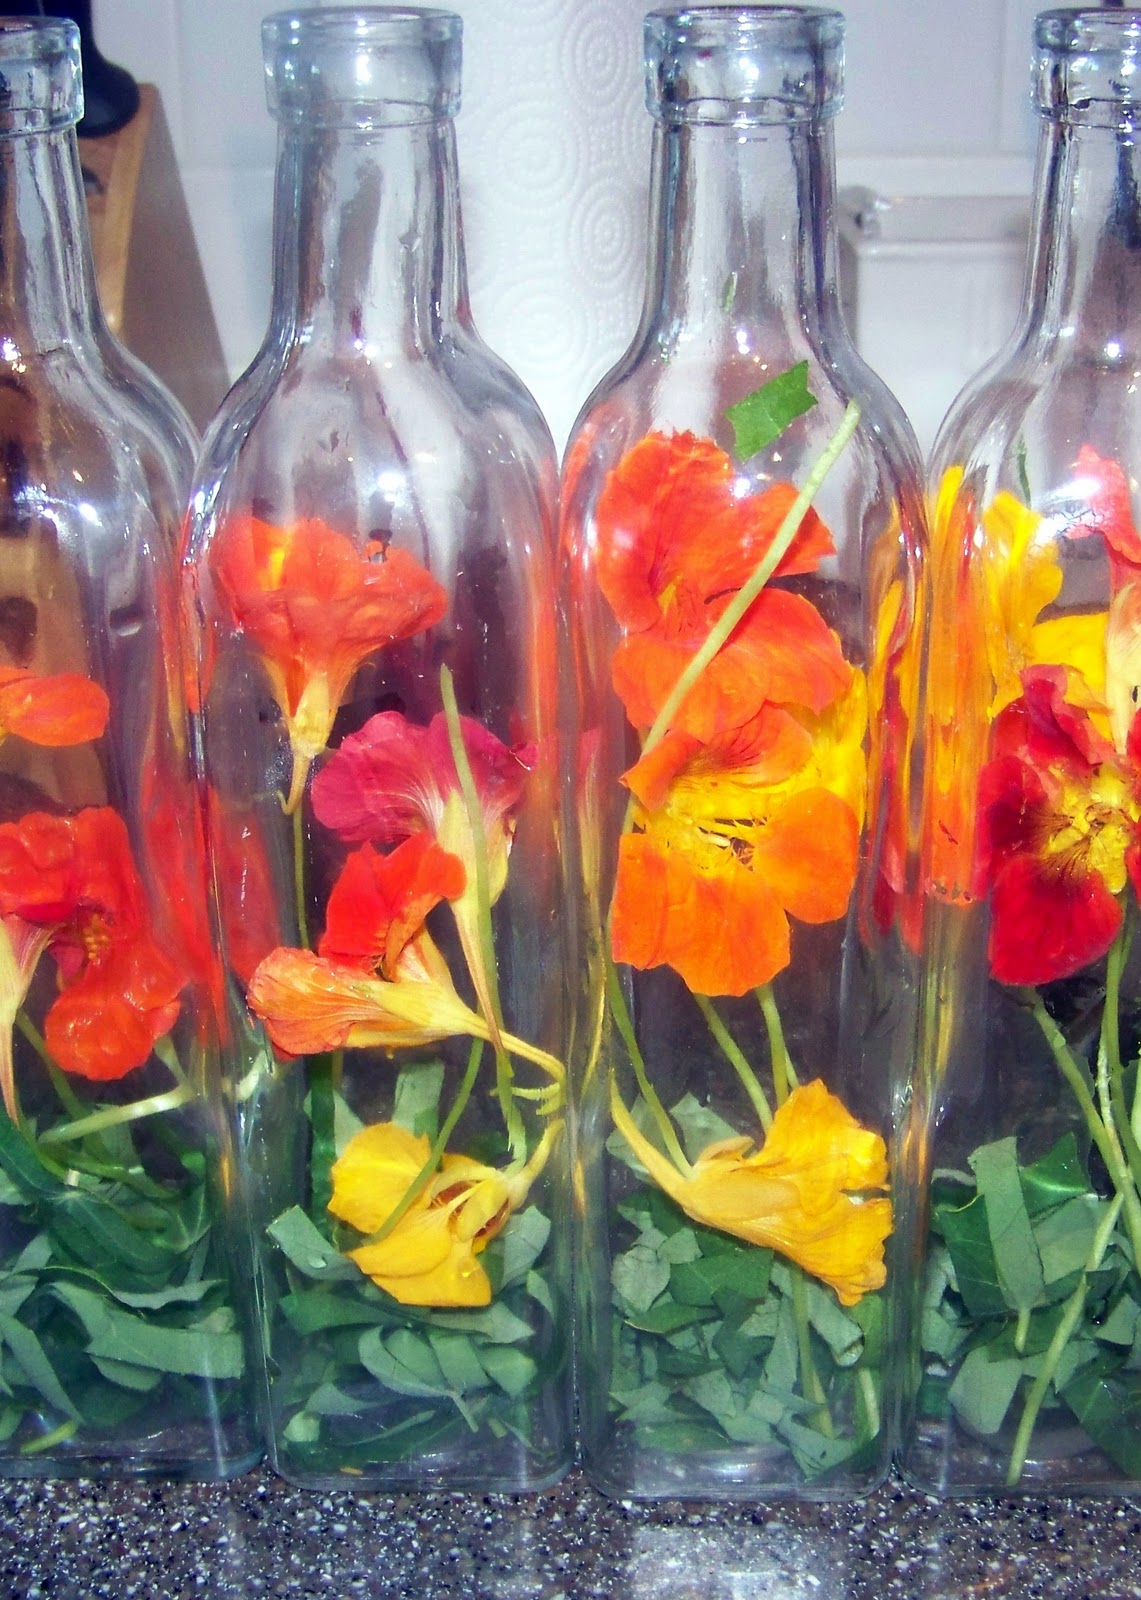
Here's a couple pictures to show the party set up: 

The sign in the lobby...

And a couple pictures of the tables all set up...Each table had math flashcards, looseleaf paper, pencils, pencil sharpeners, and quizzes...


All of the quizzes had solutions for people to check their answers. We posted them up on a bulletin board that was in the room. 

We also had a little kids table set up, so they could do fun stuff while they were there. Not too many kids at the party, however. And what could be better than running around and having fun, which is what the boys did most of the time they were there :o) ...


As far as food goes we had "Hot Lunch" with Breadsticks, Mini Calzones, Baked Mostaccioli, and Veggie Lasagna. And for "Cold Lunch" we had stuff to make sandwiches, carrots, Fruit Roll-ups, little bags of chips and Little Debbie snacks....


Cold Lunch...

Hot Lunch...

And for dessert, we had cake and Graduation Cap treats...


The picture of the graduation caps turned out a little blurry, but they were really cute and super easy to make. The treats are brownie bites turned upside down with a chocolate covered graham cracker cookie attached with a glob of frosting. The "tassels" are just frosting, but if you wanted to jazz it up a little more, you could use a M&M for the button on the top of the cap. 

So this turned out to be a mega-post, but wanted to share since I much appreciated looking at other's ideas while planning our party. 

P.S. They have plates, cups and eating and serving utensils at Party City that are made of sugar cane and completely bio-degradable and compostable! We only got plates this time, since we already had utensils and napkins...but next time I'm in the market for disposable serving ware, I know where I'm going! www.partycity.com Eco Friendly Tableware


Monday, January 24, 2011

For the health of it!

Have you ever read the magazine Real Simple? If you haven't, I would highly recommend it; very cool read for anyone enjoys home, hobbies and food. In the February 2011 issue, there is an article entitled "10 ideas for: smoothies". There are some delicious ideas in there, and since I am trying to be more health conscious these days, I tried one the other night. It was a spinach, grape and coconut smoothie. (It wasn't the one that sounded the most delicious, just the one I had the ingredients for.) It was surprisingly very yummy. I could mostly taste the grapes, and unfortunately, this isn't the time of year for grapes. The drink was overall, quite tart...but with sweeter grapes, it would probably be an even tastier drink.


Here's the recipe: 

1 cup seedless grapes (rich source of vitamin A, C, B6 & folate and other good for you stuff. Read more.)
1 cup packed baby spinach (good for everything, cause its a super veggie. Read more.)
1/2 cup ice
1/4 cup coconut milk (another superfood!, tons of electolytes. Read more here.)

Blend until smooth and frothy. 

Here's the nutritional info: 

232 calories; 12g fat; 49mg sodium; 3g protein; 33g carbohydrates; 25g sugar; 3g fiber; 3mg iron; 43mg calcium.

Well, one down, nine to go. I'll post if I try any of the other smoothies from the article. 

Monday, November 8, 2010

Pumpkin Banana Smoothie: Take Two

First thing first, know how to work your blender. The first time I tried this I disconnect the blender bottom and my smoothie ran out all over my blender, counter and floor. It was a mess, but I am SURE I will never make that mistake again.

This smoothie is a combination of yummy pumpkin puree (that I made over the weekend, see Pumpkin 911 post), half of a banana, vanilla low-fat yogurt, and a couple ice cubes, topped with a little pumpkin pie spice to make it extra special. A great recipe if you have pumpkin puree, or if you have extra canned pumpkin on hand from another recipe.

Drinking mine right now, so yummy.


Saturday, November 6, 2010

Pumpkin 911

So Earth 911 had a recent article about uses for pumpkins after Halloween. I was then inspired to do a few of the ideas with the uncarved pumpkins I had at home.

1) Pumpkin Puree. I cut open my large pumpkin scooped out the seeds and guts (for later), then put each half on a cookie sheet with a lip on it and about a cup of water on each tray. Then popped them in the oven on 350 degrees for 90 minutes and took them out. After they cooled a little I scooped the soft pumpkin out of the middle and put it into my blender and pureed. Now I have pumpkin puree to use for the next little bit and believe me I have some good ideas for it. (I, of course, composted the pumpkin shell after.)

2) Pumpkin Seeds. Put pumpkin seeds on a cookie sheet with some extra virgin olive oil, salt and an Italian blend of spices. Baked for about 25 minutes on 350 degrees, mixing the seeds around about half way through. Yummy, yummy, yummy.

3) Pumpkin Stock. I put all my pumpkin guts in a big stock pot with water and let it boil until the water turned orange. Then I strand the guts out of the stock, and put them in the compost bin. I'll use the stock later--in soups and hot dishes--like veggie stock. This actually made quite a bit, so ended up dividing it into 5 smaller containers; I'm keeping one in the fridge and freezing the other four to take out one by one.

The 911 article was great, so check it out!

Saturday, September 25, 2010

Nasturtium Vinegar


Today I made four bottles of nasturtium vinegar that I will give away as gifts. The finished vinegar will have a nice peppery bite and will an excellent ingredient to use in salad dressings, sauces, and other dishes. Here's how I made it...
I picked about 4 blooms per bottle and lots of leaves that I cut in thin confetti strips. I put the leaves and blooms in the bottles and filled the bottles with apple cider vinegar. Then I sealed up each of the bottles.


Now to let them sit for at least 3 weeks before using. The nasturtium can remain in for decoration, but you should make sure the vinegar always covers the flowers or they will mold. 

Sunday, September 19, 2010

Garden Kabobs

Yummy Kabobs with fresh garden veggies!!

Nasturtium, chicken and a little salt. Delicious!

Pork, sweet pepper, cinnamon, brown sugar. 

Far right, streak, salt and pepper...also, cherry tomatoes mixed in the other kabobs. 

All cooked up on the grill with a little extra virgin olive oil. So good and fresh!!!

Sunday, April 25, 2010

Homemade Pizza

On Friday night we had friends over for homemade pizza. I used a simple pizza crust recipe that is dense and bready. If you'd like to try it, here's the recipe:

1 package active dry yeast, I used Red Star
1 cup warm water

Mix these together first.

Then add the following:

2 tbsp Vegetable Oil
1 tbsp Honey
1 tsp Garlic Salt
2 1/2 cups flour, I used whole wheat flour

Then mix altogether using your hands, then roll out on a cookie sheet sprayed with cooking spray. Lightly coat the crust with EVOO and bake on 450 degrees for 6 minutes. The dough will be halfway cooked at this point and you can top however you'd want. We made 4 pizzas on Friday: 1) Pizza Sauce, Pepperoni, and shredded Mozzarella Cheese 2) Alfredo Sauce, Onions, Pre-Cooked Chicken, and Provolone Cheese 3) Vodka Sauce, Mozzarella Cheese, Pineapple and Ham 4) Vodka Sauce, little Mozzarella Cheese, Mushrooms, Green Pepper, Pre-Cooked Sausage, and crumbles Goat Cheese. Everyone really liked pizza #4!!

After you top your pizza, put it back in the oven for another 6-8 minutes until crust looks golden and cheese is melty.

Enjoy!

Wednesday, March 24, 2010

#58: Make treats for work.

So something I've been meaning to do for a while now, is make treats to bring to work (and for Hubby to take to his work too). I used to make treats more often, but for some reason, I haven't been doing it as much lately. So tonight I made...drum roll, please...Margarita Cake!!! Here's the recipe:

1 1/2 cups coarsely crushed pretzels
1/2 cup sugar
1/2 cup butter or margarine, melted
1 box white cake cake mix
1 1/4 cups bottled nonalcoholic margarita mix
1/3 cup vegetable oil
1 tablespoon grated lime peel
3 egg whites
1 container (8 oz) frozen whipped topping, thawed (I used Lite Cool Whip)
Additional grated lime peel, if desired

Heat oven to 350°F (or 325°F for dark or nonstick pan). Grease bottom only of 13x9-inch pan with baking spray. In medium bowl, mix pretzels, sugar and butter. Sprinkle evenly on bottom of pan; press gently. (Note: In below picture, the recipe is doubled.)


In large bowl, beat cake mix, margarita mix, oil, 1 tablespoon lime peel and the egg whites with electric mixer on low speed 30 seconds. Beat on medium speed 2 minutes, scraping bowl occasionally. Pour batter over pretzel mixture.


Bake 35 to 40 minutes or until light golden brown and top springs back when touched lightly in center. Cool completely, about 2 hours. Frost with whipped topping; sprinkle with additional lime peel. Store covered in refrigerator.

Sunday, March 14, 2010

# 27: Refurbish thrift store tables.


So the other weekend while shopping with my mom, I came across two small gold tables. I thought they would be perfect to use next to our sectional in our TV room.


We first cleaned the tables really well with glass cleaner. And then separated the glass tops and the stands. We decided to spray paint the stand of the table white and the underside of the glass red.


By only spray painting the bottom of the glass red, it left the top of the glass a shiny surface that would be able to have drinks and plates set on it without scratching the paint. Below is the finished product. The first picture is of the tables in our TV room. I love the way they turned out!